


 Limited")
-
You have no items in your shopping cart.


In this blog, we will discuss the benefits of applying Danish Oil to oak, what it looks like when it is applied, and other uses.
Our Danish Oil is a unique blend of natural oils and resins that penetrate deep into the oak and dry to provide a hard, durable, and lustrous satin finish, making it suitable for high use areas such as flooring, dining tables and kitchen worktops.
It provides excellent water resistance, helping to prevent the oak from staining and reduces marks on the surface, making the oak easier to clean and maintain.
Danish Oil is completely non-toxic and food safe when dry which means in can be used on all oak items and in all environments. If you have oak worktops, we recommend using our Worktop Maintenance Kit, which includes the Danish Oil.
As well as providing many practical benefits, Danish Oil also enhances the appearance of the oak by bringing out the natural grain.
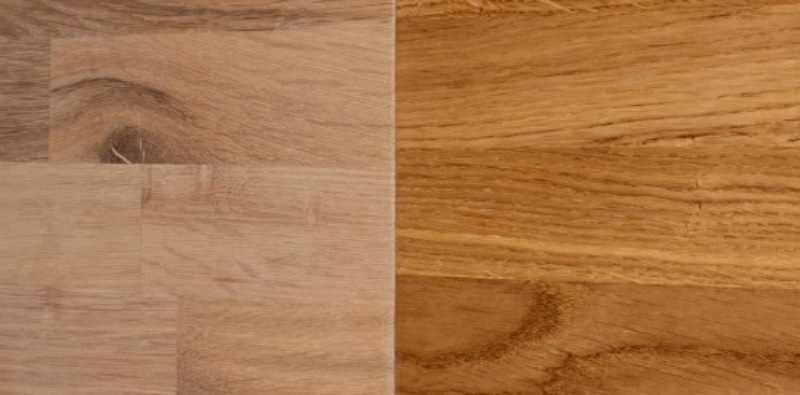
Here is a close-up, before and after of Danish Oil on Oak. You can see the oil slightly darkens the wood, enhancing the natural characteristics of the oak.
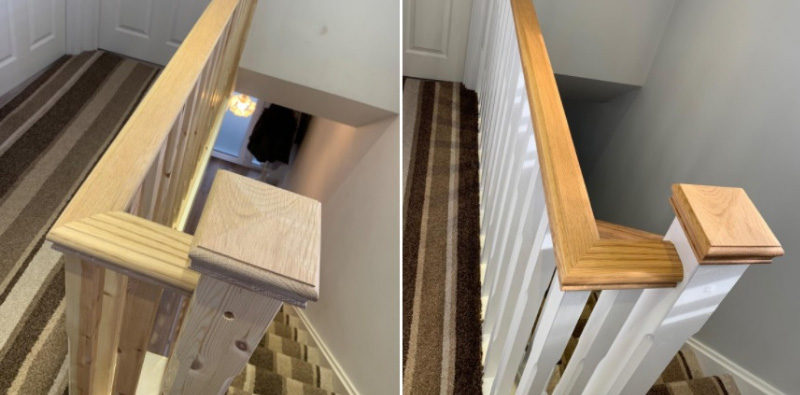
This photo shows the before and after of our Danish Oil, applied to a solid oak banister.
Before applying the Danish Oil to oak, it is important to properly clean the wood and remove any old finishes and spray on polishes.
To clean oak, we recommend using a specialist Wood Cleaner with a Sanding Pad.
Our Wood Cleaner is water-based and so totally safe to use on all types of wooden surfaces. It is suitable for gently cleaning wooden surfaces to maintain a clean appearance but can also be used with the Sanding Pad to thoroughly clean deeply ingrained dirt and stains.
Once clean, leave the oak to dry, then sand it with another Sanding Pad (but this time, without the Wood Cleaner). The second sanding will remove any original finishes applied to the wood such as an oil, wax or varnish.
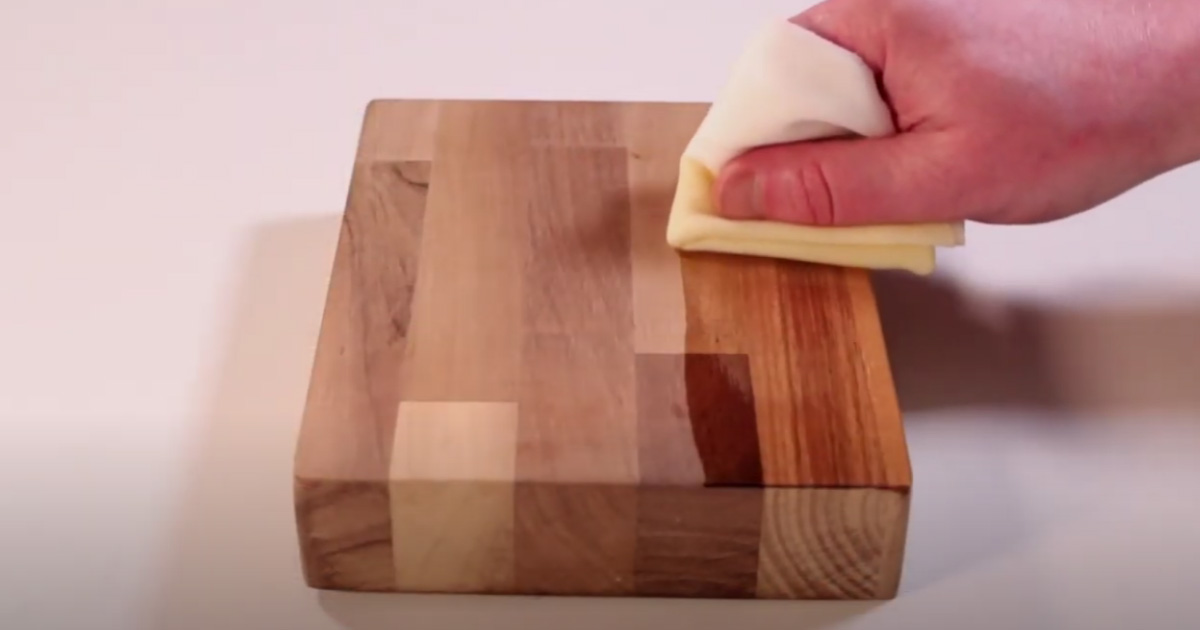
Apply the first coat of Danish Oil with a Foam Brush, wiping the oil onto the surface of the wood, following the direction of the grain.
A Foam Brush absorbs the product and allows you to liberally and evenly distribute the oil on to the surface of the wood. There are also multiple sizes available, so that you can apply oil to all those hard-to-reach areas on any wooden item.
Leave the oil to penetrate for two to three minutes and wipe away any excess oil with a Lint Free Cloth. Using a Lint Free Cloth will not spoil the application of the oil by leaving any unwanted loose fibres, threads and lint on the surface.
Two more coats should be applied after the first, leaving four to six hours between each coat to ensure the previous application has completely dried before applying the next.
Once the last coat of Danish Oil has dried and you have smoothed over the surface with a De-nibbing Pad. A foam backed, De-nibbing Pad removes "nibs" and imperfections in finishes and should be used in between coats of the Danish Oil, and when you have applied the final coat to create a super smooth finish.
Our Wood Oil Kit contains all the products and accessories previously mentioned to correctly clean, prepare and oil all oak surfaces. Use it to get the best results with our Danish Oil.
As well as Oak, Danish Oil can be used on all types of wood including pine, beech, walnut.
As our Danish Oil is completely non-toxic and food safe when dry, it can be used on any wood and in any environment, such as:
Want to know more about Danish Oil? Read our blog – What is Danish Oil?
We use cookies to make your experience better. Using our site means you agree to the use of cookies and similar technologies.