


 Limited")
-
You have no items in your shopping cart.


Do you dream of buying an iconic classic car and returning it to its former glory?
Perhaps, you’ve already found your dream car and you’re ready to get the restoration started?
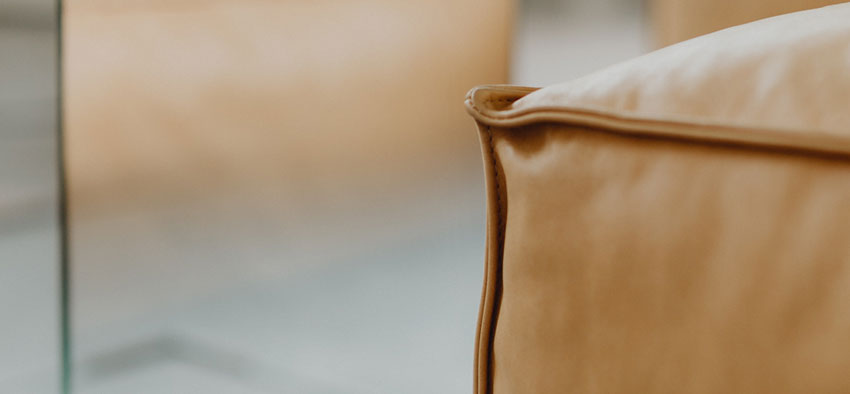
As you’ll know, restoring a classic car is more than just mechanical and exterior cosmetic work. Wear and tear occur naturally on the upholstery and can dramatically diminish the overall appearance of the car, so it's important that any restoration is done to a high standard.
But before calling in a professional, consider restoring the interior yourself.
We offer a specialist range of leather products, as well as some easy to follow step-by-step and video guides to help you restore your classic car interior to a professional standard without the high price tag.
First things first
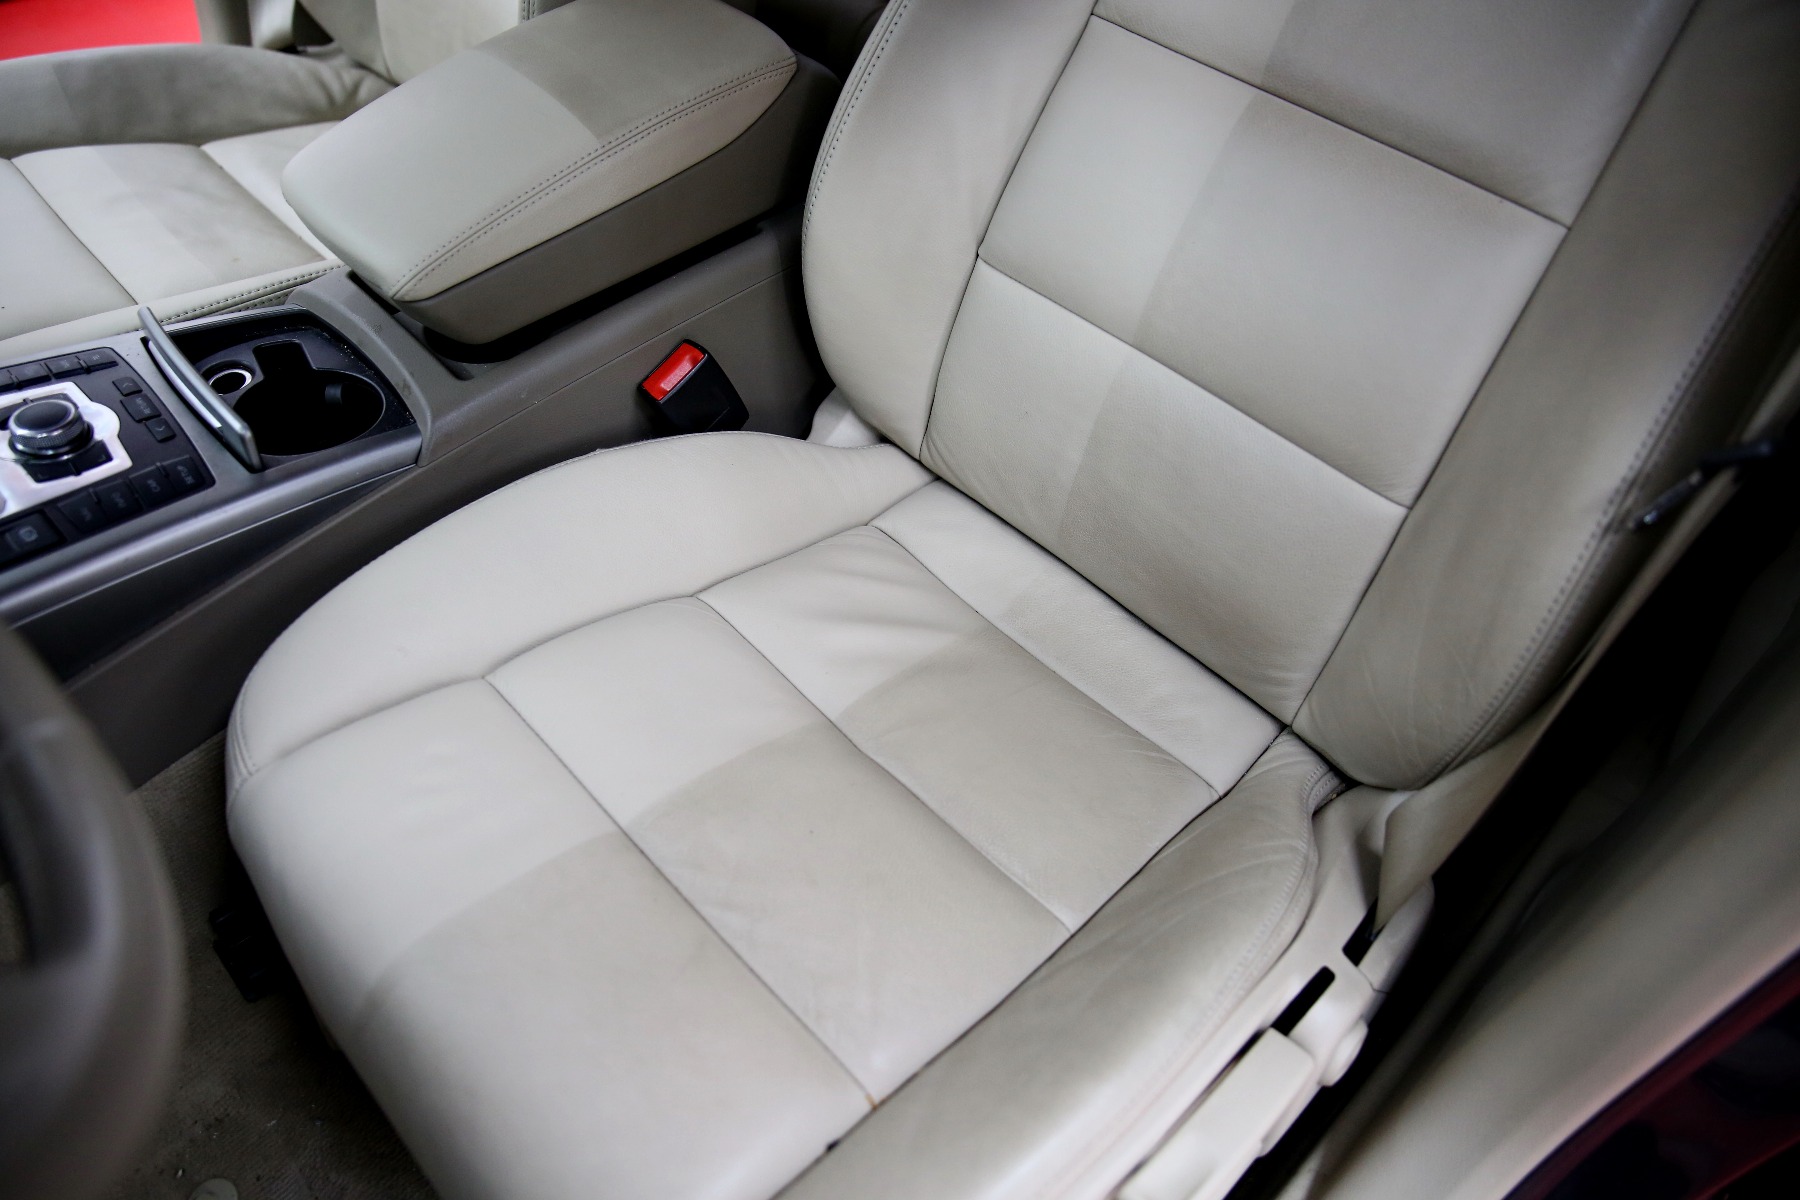
The first step to restoring a leather car seat is identifying the problem or assessing the damage. If the leather is in a good condition, showing no signs of wear and tear, a simple clean might be all it needs.
However, we recommend that you only use specialist leather cleaners opposed to baby wipes or any general surface cleaners, as many of these products have chemicals and substances in them that can cause drying, cracking or colour loss.
 Clean and protect your leather items regularly to keep them looking their best!
Damaged Leather:
From minor scuffs and scratches to cracking, we have a solution.
Scuffs and scratches on leather car seats can leave an unsightly area of damage on an otherwise perfect piece of leather. The good news is that using our ‘How to Repair Scuffs & Scratched on leather’ guide and products, getting rid of scratches and scuffs on leather can be quick and easy, despite what is commonly thought!
For this, you will need our Complete Leather Repair Kit.
Minor Cracking & Colour Loss
Due to the age of the leather, signs of cracking and colour loss are likely. To restore this type of damage you will need our Leather Colourant Kit, Leather Binder and Flexifil.
All of our products come with instructions but you might want to take a look at our ‘How to restore a leather car interior’ step-by-step guide and video before you start.
Here’s what to expect:
You will begin by prepping the leather using our Leather Prep, which will remove the manufactured finish and any silicones that are soluble in solvents.
You will then need to use our Alcohol Cleaner to remove any other silicones that aren’t soluble in solvents, such as spray-on polish and waxes.
Once the leather is dry, it is important, particularly for old or worn leather, to strengthen it with Leather Binder.
To smooth over any areas of cracking, apply thin layers of Flexifil until all cracking is level with the surface of the leather.
When you are satisfied all cracking is filled, you can then begin to restore or even change the colour using our Leather Colourant Kit.
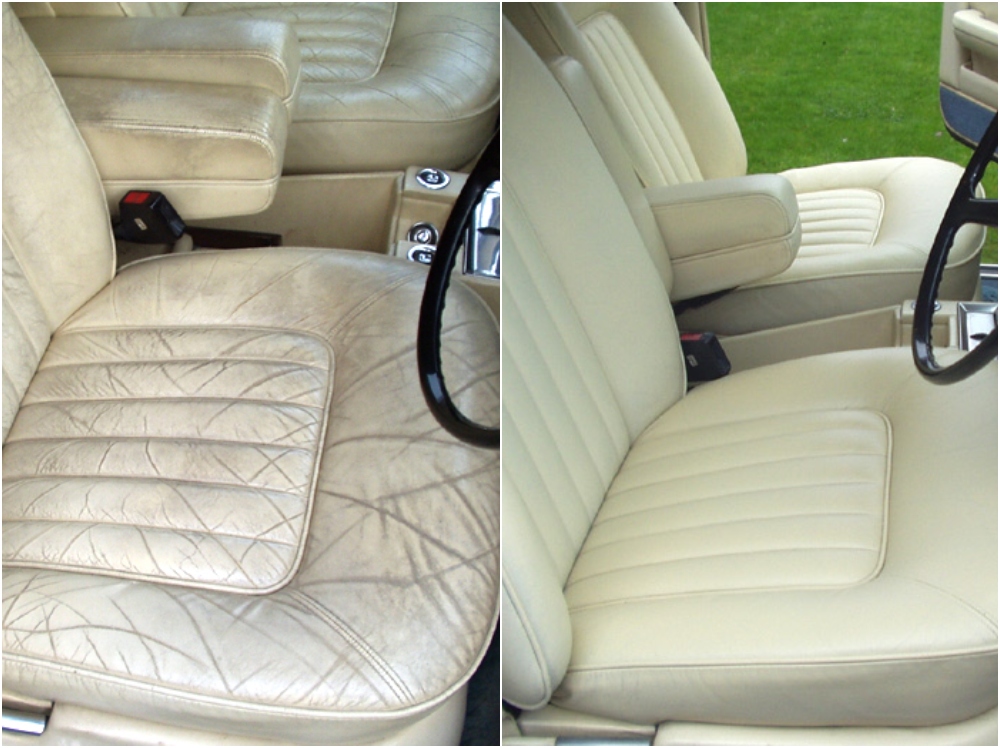
Fully restored Silver Shadow leather interior using Furniture Clinic Products
Prevention is key!
After spending time on restoring your leather car seats, you want to keep them looking their best, right?
Well, did you know that you can prevent leather from becoming stained or damaged with regular cleaning and protection? We recommend you use our Leather Ultra Clean and Leather Protection Cream.
Why? Our Leather Protection Cream provides advanced barrier protection technology to help repel all oil and water based staining from leather and will also hold general dirt on the surface, making it much easier to clean and care for.
We wish you the best of luck with your restoration project and hope you have fun in the process! If you have any issues or questions regarding our products, please don’t hesitate to get in touch.
We use cookies to make your experience better. Using our site means you agree to the use of cookies and similar technologies.