


 Limited")
-
You have no items in your shopping cart.


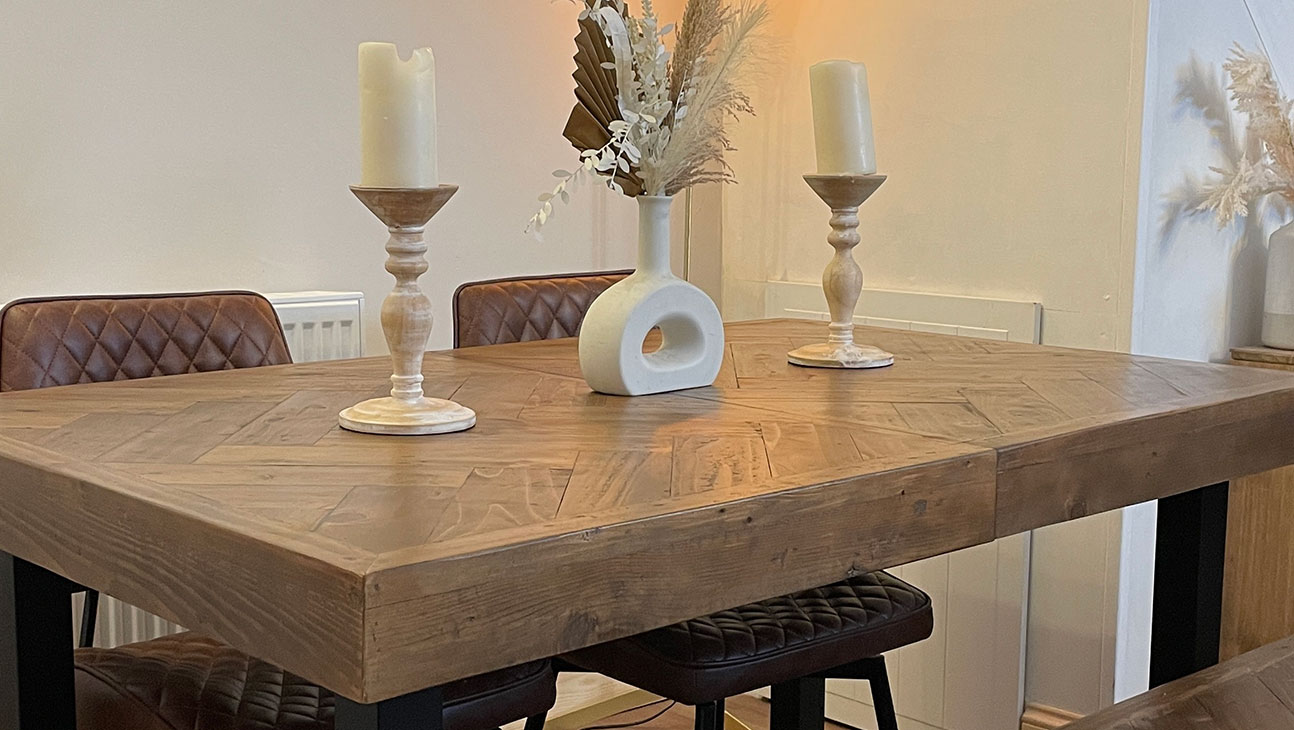
Many of us have wooden furniture in our homes and want to ensure it stays looking its best. However, without proper care, wooden furniture can become dull, dry and vulnerable to damage. Everyday use can also lead to scratches, stains, and build-up of dirt which can make the furniture look worn.
One of the best ways to restore and protect your wood furniture is by using Beeswax Polish. Not only does beeswax nourish the wood, but it also provides a protective layer that will cause water to bead up on the surface and protect it from staining.
In this guide, we’ll walk you through the step-by-step process of using our Wood Wax Kit, which includes Beeswax Polish, to clean and protect your wooden furniture.
Beeswax Polish is popular for treating wooden furniture as it has a natural formula and is easy to use. Our original clear Beeswax is formulated to be colour-neutral, which means it won’t change the colour of the wood while still enhancing its natural beauty.
Beeswax Polish Benefits
There are many different oils that can be used on wood such as Danish Oil, Boiled Linseed Oil, or Tung Oil. One of the main differences between these oils and Beeswax Polish is that a wood oil penetrated the wood more deeply, causing the colour to darken slightly.
Our Wood Wax Care Kit has been designed to clean and wax all wooden surfaces with ease. The all-in-one kit contains everything needed to prepare and treat the wood: Wood Cleaner, Beeswax Polish, and Lint Free Cloth.
Using the kit is an easy 2-step process. Follow these steps to easily clean and polish wood.
Step 1 – Preparation
Give the wood a good clean using the Wood Cleaner to start.
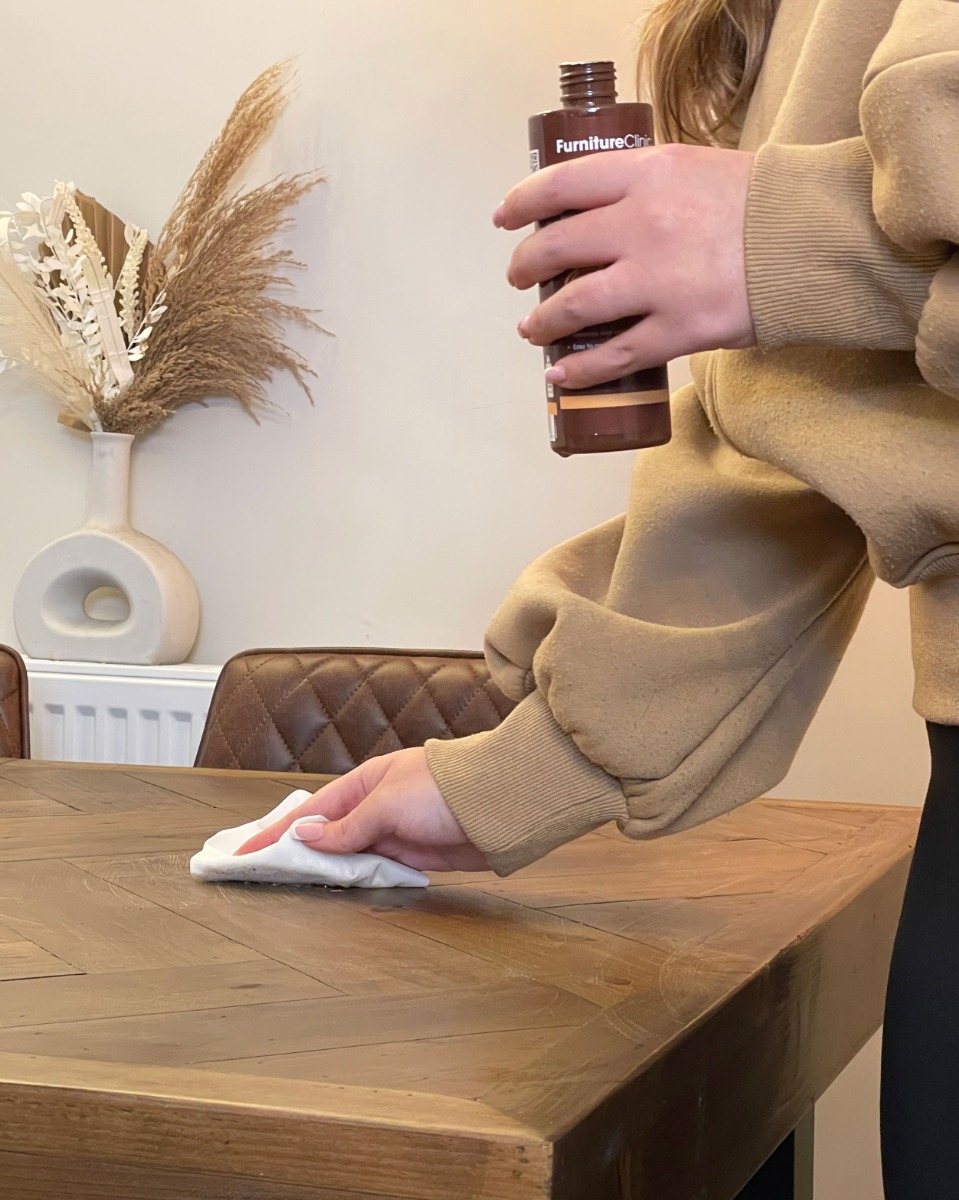
If you want to remove oils and coating on the wood, use the Wood Cleaner in conjunction with a coarse sanding pad. This cleaning action will remove old oil, any silicone polishes, waxes, dirt, grease, and grime from the wood.
As the original coating is removed/reduced, the wood will begin to appear a lighter colour. You should then sand the surface using a fine sanding pad; this will help make the wood feel nice and smooth.
When the surface is reasonably even in colour and touch (it should feel smooth and look lighter), you can move on to step two or, if you want to stain the wood, now is the time. First, wipe the surface down with a damp cloth to remove any dust.
Step 2 – Applying the Beeswax Polish
Ensure the surface is dust-free. Apply the Beeswax Polish onto the Lint Free Cloth and rub it into the wooden surface following the direction of the grain. Leave for five minutes and buff over with a clean cloth to restore the lustre.
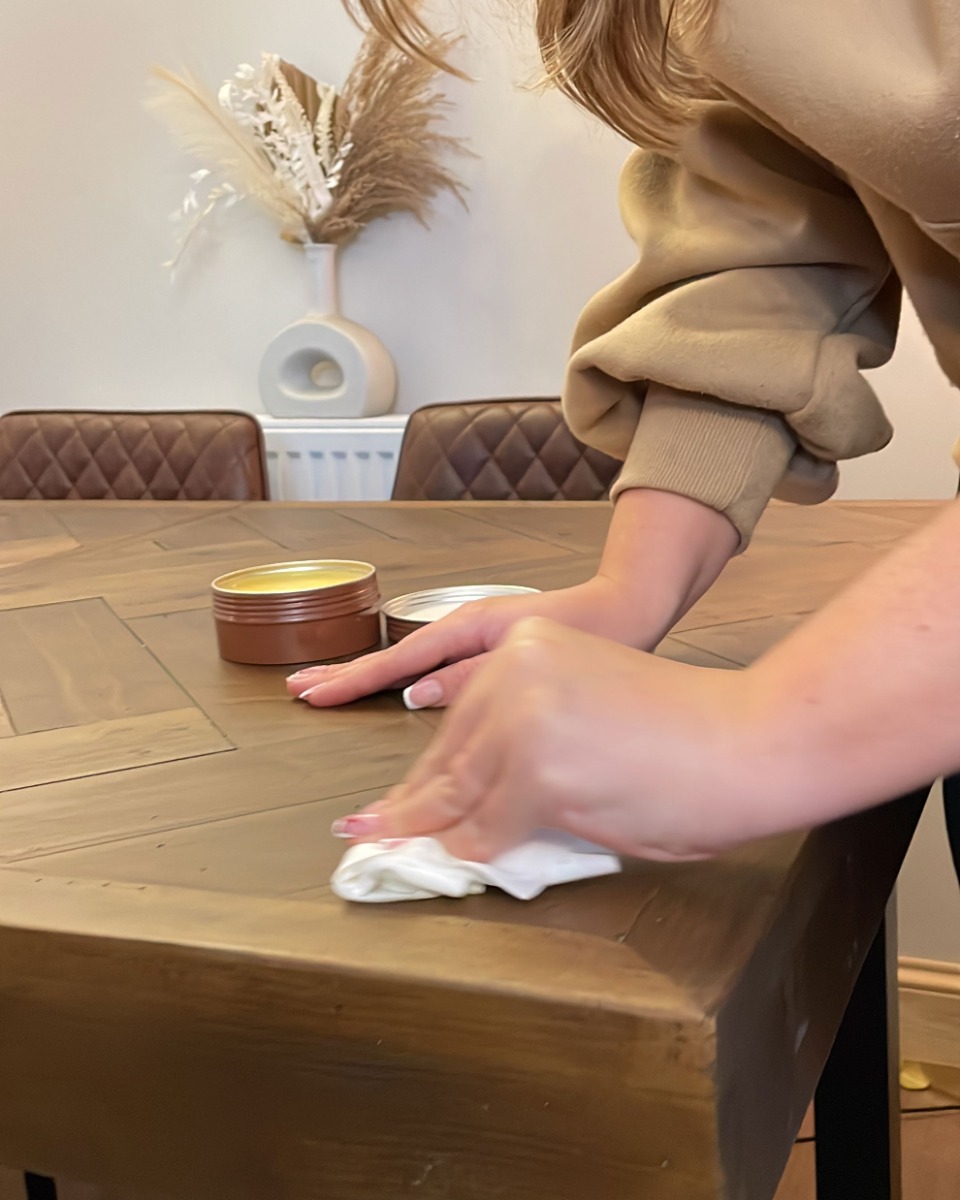
We recommended applying two coats for day-to-day use of wood, three to bare wood, or more if you desire a high gloss look. For a polished look, polish the beeswax in between coats using the Lint Free Cloth.
Our Beeswax Polish can also be purchased separately
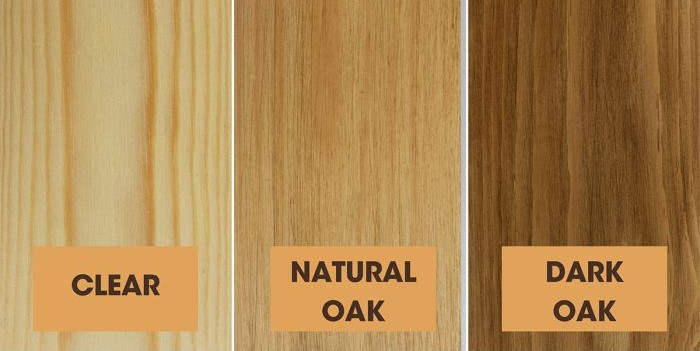
Now available in 3 different finishes: Clear, Dark Oak, and Natural Oak.
Our Dark Oak and Natural Oak Beeswax Polishes can be used to maintain, revive and enhance the colour of dark and light woods respectively. The stain in the polish will also help to cover small marks and scratches on the wooden surface.
Can I use Beeswax Polish on All Types of Wood?
Yes! Beeswax polish is safe for both finished and unfinished wood, including oak, pine, mahogany, and walnut. It's also food-safe, so can be used on kitchen utensils and worktops.
How Often Should I Apply Beeswax Polish?
We recommend to re-wax the wood once a year, or whenever the surface starts to look duller, or the water stops beading up.
Watch the full video for full instructions on how to apply Beeswax Polish:
We use cookies to make your experience better. Using our site means you agree to the use of cookies and similar technologies.